How to Backup a NAS or Custom Server to the Cloud
By QuixiCloud Engineering•June 11, 2026
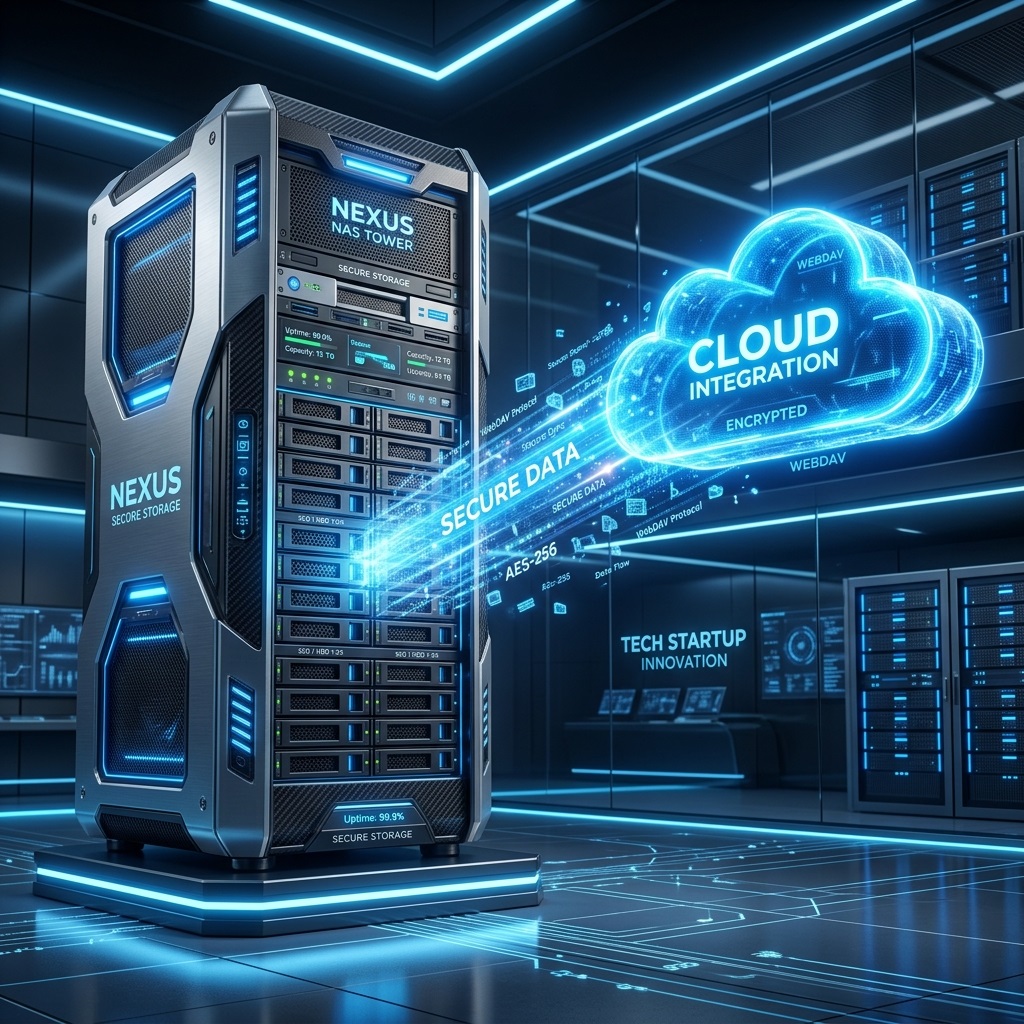
The Power User's Dilemma
If you operate a Network Attached Storage (NAS) unit or a custom Linux home server, standard desktop sync clients are useless. You need a protocol that allows your automated backup scripts or NAS operating systems (like TrueNAS or Synology DiskStation) to communicate directly with your cloud repository.
Connecting via Secure WebDAV
QuixiCloud fully supports universal file mounting via WebDAV, giving you direct access to our unified storage tier.
WebDAV Configuration Steps
- Generate App Passwords: Never use your primary account password for third-party scripts. Log into your QuixiCloud Web Dashboard and navigate to the
/mountdashboard. - Create the Key: Generate a secure, 26-character WebDAV App Password. This key is uniquely tied to your specific NAS or script and can be revoked at any time without compromising your main account.
- Mount the Directory: Input the QuixiCloud WebDAV endpoint URL, your username, and the 26-character App Password into your NAS backup software (such as Cloud Sync for Synology) or your Linux
fstabconfiguration. - Server-Side Protection: Once your NAS begins pushing data to QuixiCloud, your files are protected by our enterprise-grade server administration. All QuixiCloud storage endpoints are defended by strict UFW firewall rules on Ubuntu and custom Fail2Ban parameters that specifically monitor and block malicious server-side bot attacks, ensuring your off-site backups are highly secure.
Q
Written by QuixiCloud Engineering
The QuixiCloud Engineering Team is dedicated to building secure, scalable, and privacy-first cloud storage solutions.